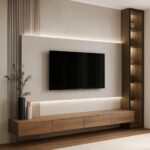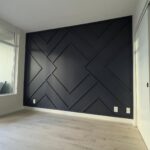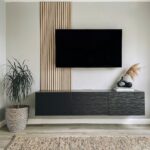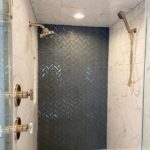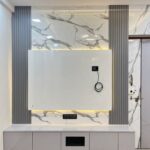
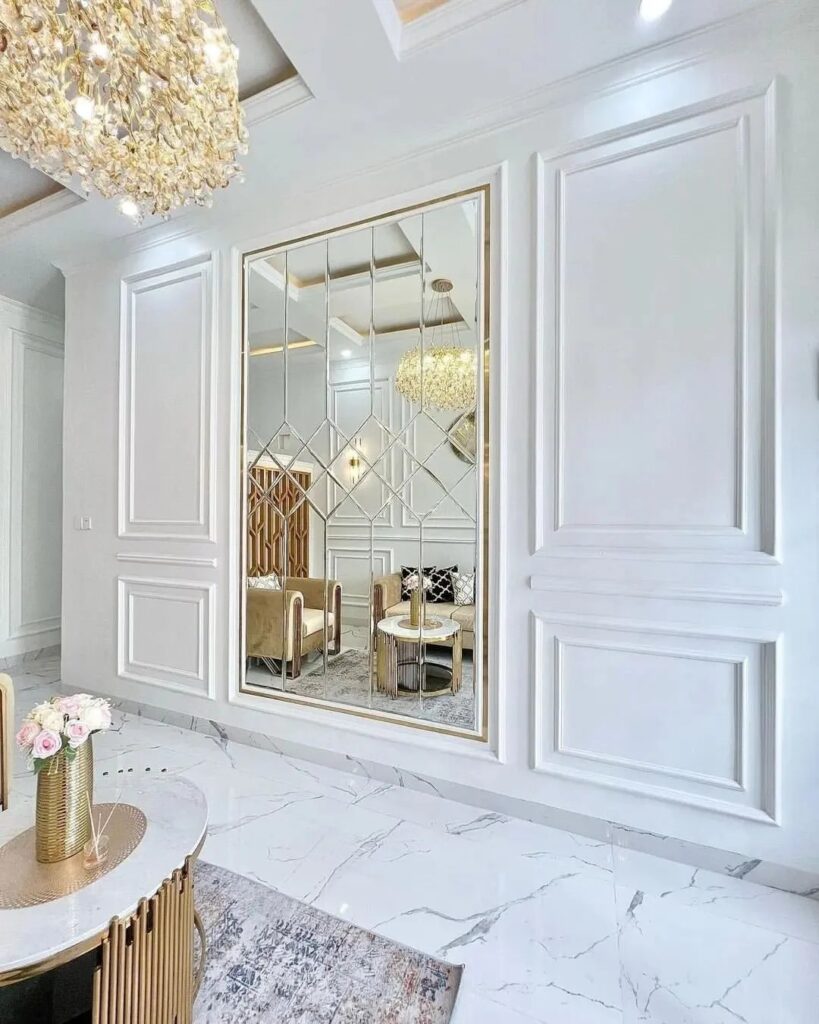
Wall panel molding runs from a weekend of miter cuts with picture frame stock to layered assemblies with panel mould and lumber that can fill a whole room and take more than a Saturday.
The deciding factor is how much projection your wall can take: shallow trim keeps a small room breathing, while raised panels and classical relief need ceiling height to carry the shadow.
A single vertical slat wall built from ripped 1-by material with half-inch gaps between strips hides wavy drywall better than flat assemblies ever could, and it stays friendly to a tight budget.
[link-whisper-related-posts]1. Understanding Wall Panel Molding
Wall panel molding is decorative trim that frames sections of a wall, turning flat drywall into something with depth and intention.
I think of it as architecture you can add after the fact: it hides uneven corners, draws the eye away from ceiling cracks, and gives a room the sense that someone planned it.
The idea is old. Before drywall and insulation, wood panels were how you kept a room warm; boards went up tight to block drafts.
What you choose depends on how much projection you want. Some styles sit almost flush; others step out enough to catch a shadow.
The deeper the relief, the more shadow and the more formal the room feels.
2. Raised Panels
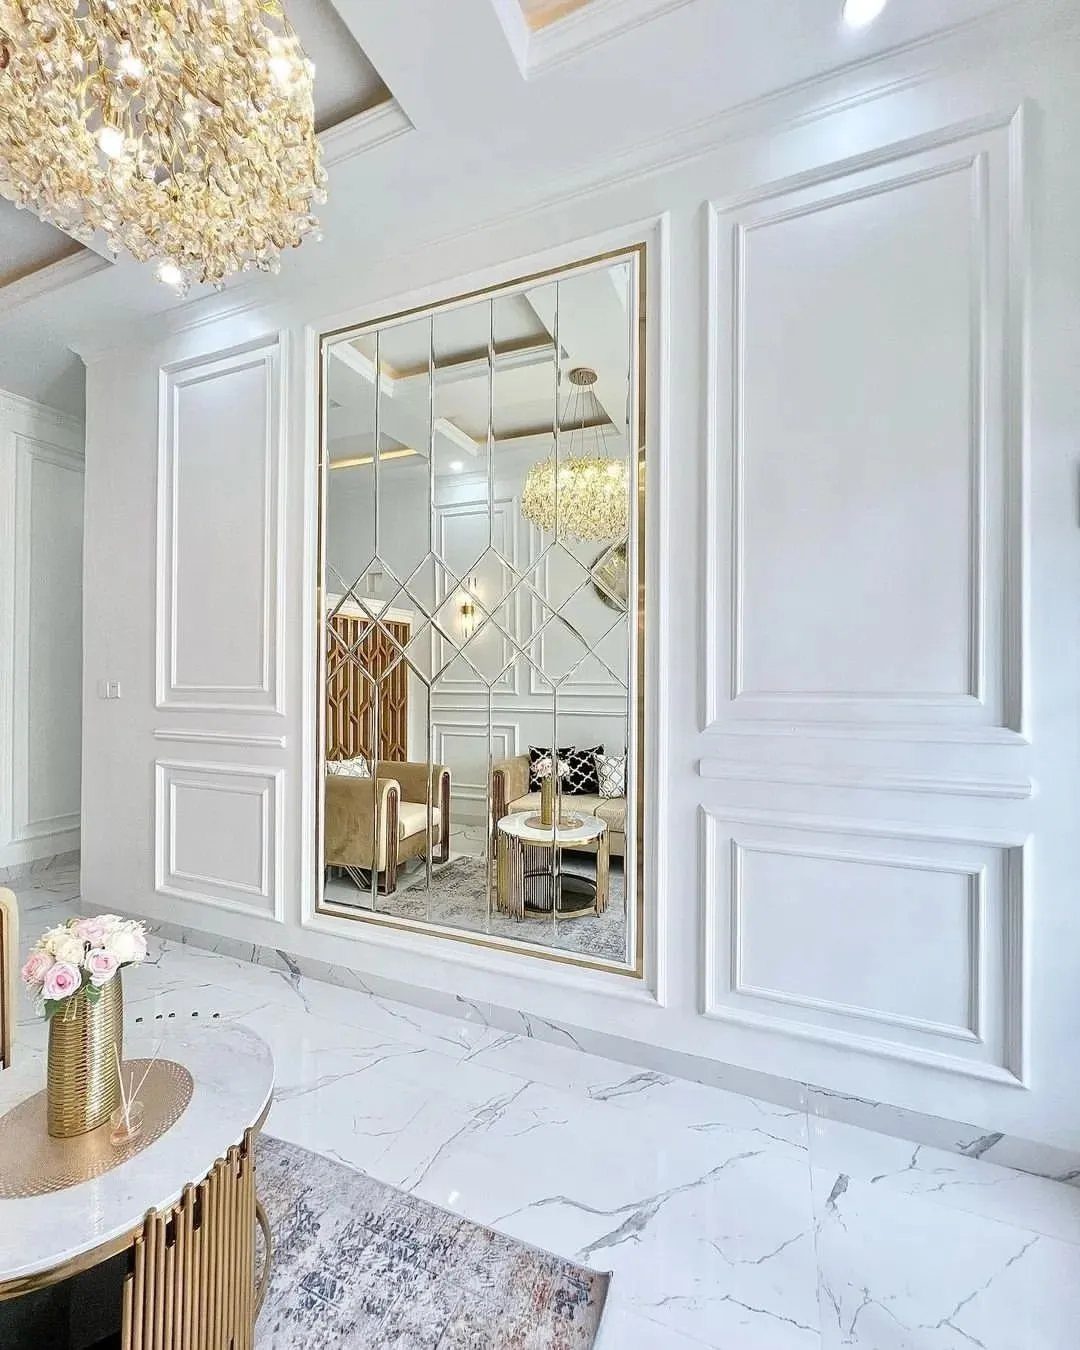
Raised panels push forward from the wall surface, and that small amount of depth changes how light moves across a room.
I notice them most in spaces that already have some formality: a dining room with a long table, a foyer with a mirror. The shadow line around each panel makes the wall feel thicker, more built-in.
Raised panels need more room and more budget than flat ones. These assemblies need more lumber, more cuts, and more care at the corners to keep the pattern aligned.
A slightly off angle shows.
For a first project, I would start smaller: one feature wall, not a whole room. The skill is in keeping the reveals consistent and the miters tight.
If your walls are wavy, the frames will telegraph every bump unless you float them or shim behind the rails.
3. Beadboard
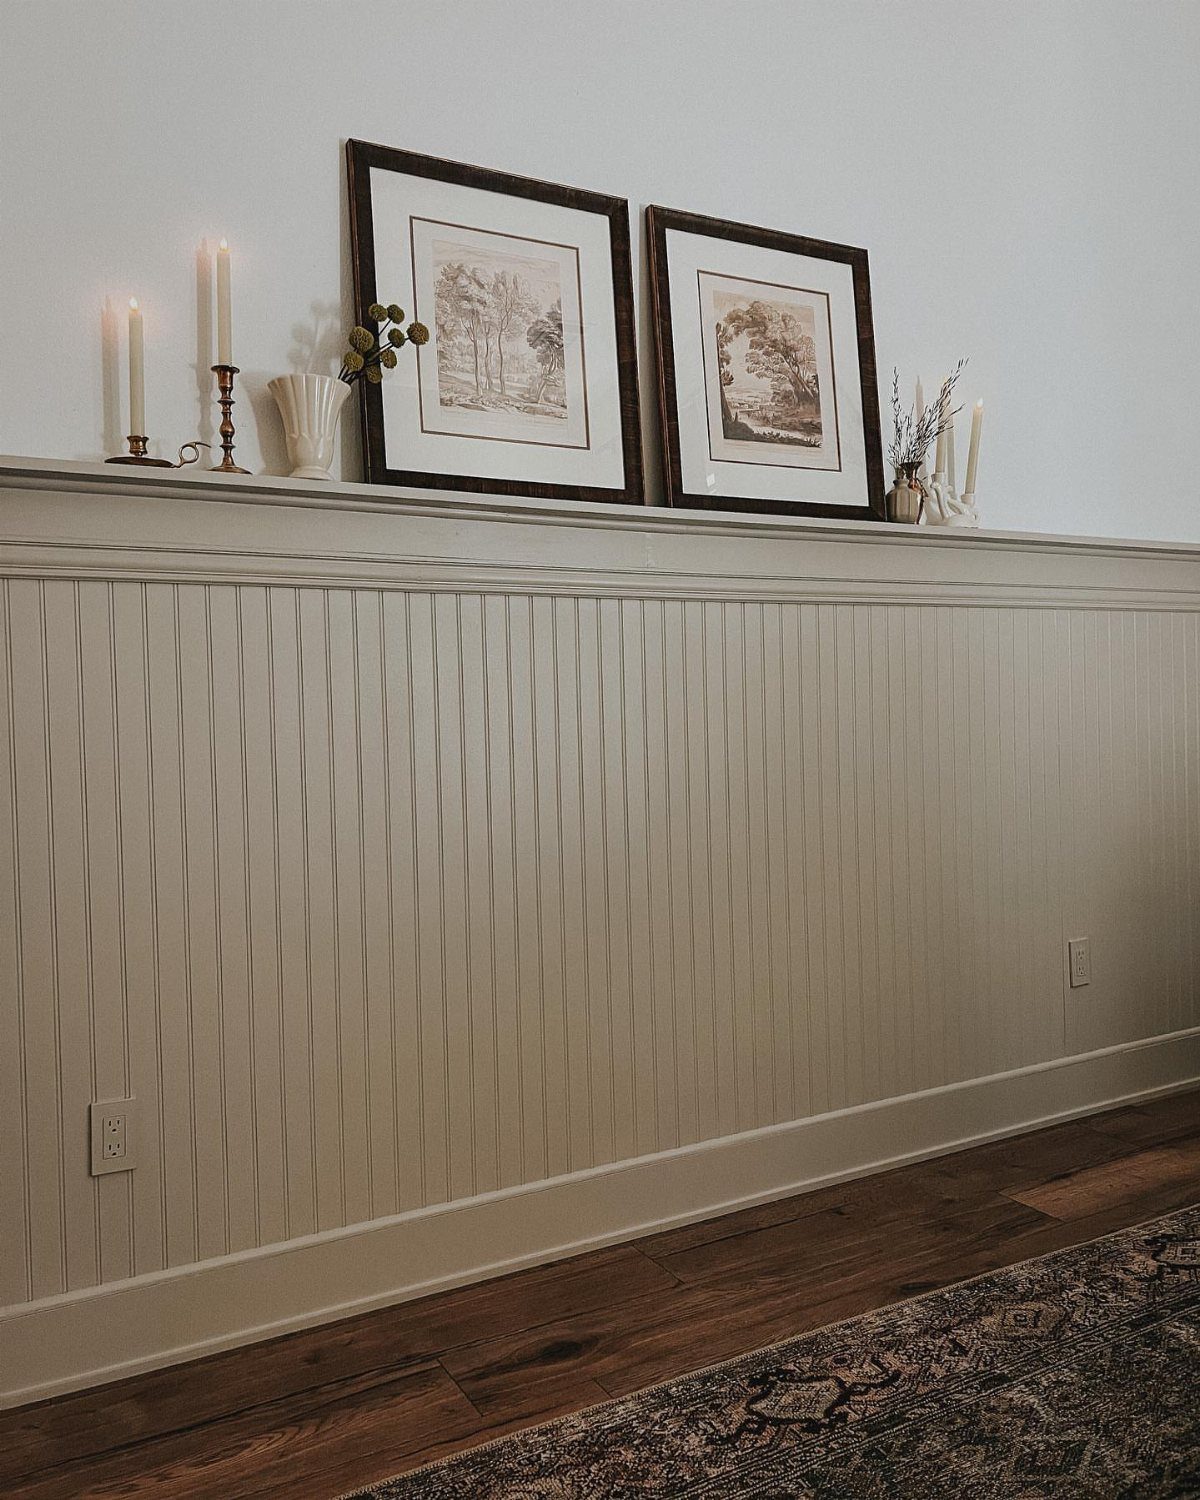
Beadboard is narrow vertical boards with a small ridge or "bead" between each one. It reads casual, a little cottage, and it forgives walls that are not perfect.
The grooves break up the surface so dents and uneven paint matter less.
I have seen it work best in kitchens, mudrooms, and anywhere you want texture without weight. It goes up faster than raised panels because the boards interlock and you are not building individual frames.
A ledge at the top turns the wainscot into a shelf for small frames or candles.
Either way, check that your boards are real wood or a solid composite. The thin MDF versions swell at the bottom if a mop hits them twice a week.
4. Wainscoting
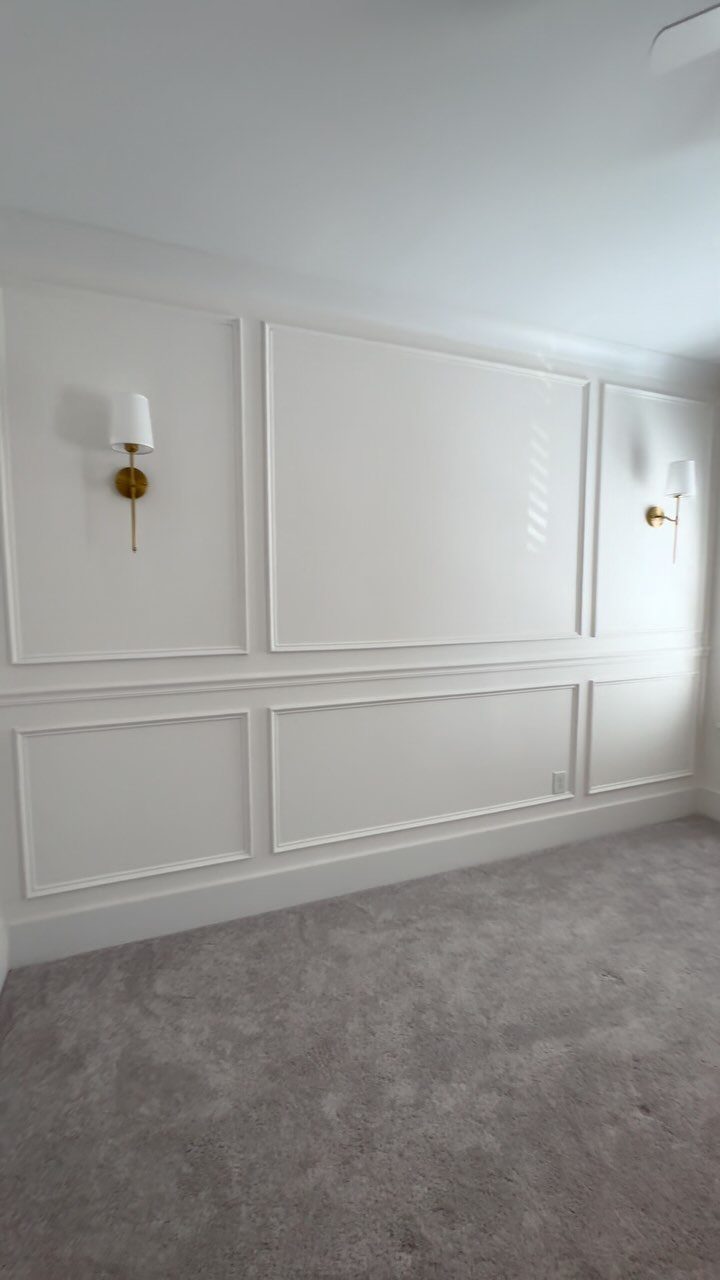
Wainscoting is paneling that stops at chair-rail height, somewhere below the midpoint of the wall. The lower half of the wall gets the treatment; the upper half stays flat or gets paint.
I like it in hallways and entries because the paneling takes the scuffs, not the drywall. Shoes, bags, chair backs: they hit the trim.
Two tiers, upper and lower, separated by a rail, give you more places to change materials or colors. You can do one tier or three; the more breaks, the busier the wall.
A small room wants less.
What changes the look is the scale of the rectangles. Tall, narrow panels suit a room with ceilings high enough to carry them.
Wide, low ones look squat unless the ceiling is low too, and then they are the right proportion. Measure your wall height and divide by 3 or 4 to find a panel height that feels balanced.
5. Bathroom Wall Panel Molding
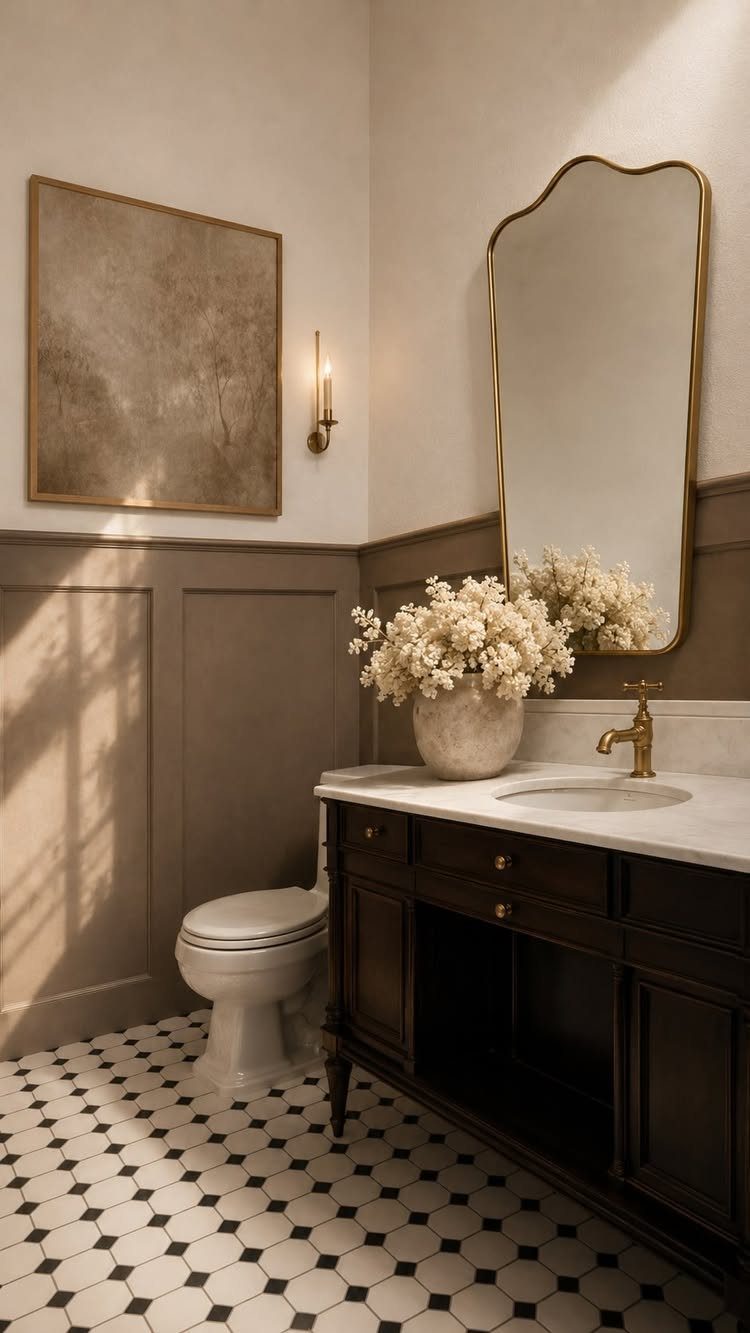
Bathrooms need panel molding that can handle moisture. Regular MDF or soft pine will swell and flake near a shower or a sink with splash.
I look for PVC, solid surface, or at minimum a hardwood with a marine-grade primer behind it.
Stopping at wainscot height is smart in a bathroom: the lower wall gets wet, the upper wall breathes. A full-height installation in a small bath can feel like a sauna unless the material is very thin and pale.
Check your ventilation before you commit. A fan that keeps running after a shower does more to preserve molding than any sealant.
If the bath has no window and the fan is weak, stick with a tile wainscot or a PVC panel system that looks like beadboard but sheds water.
6. Panel Mould
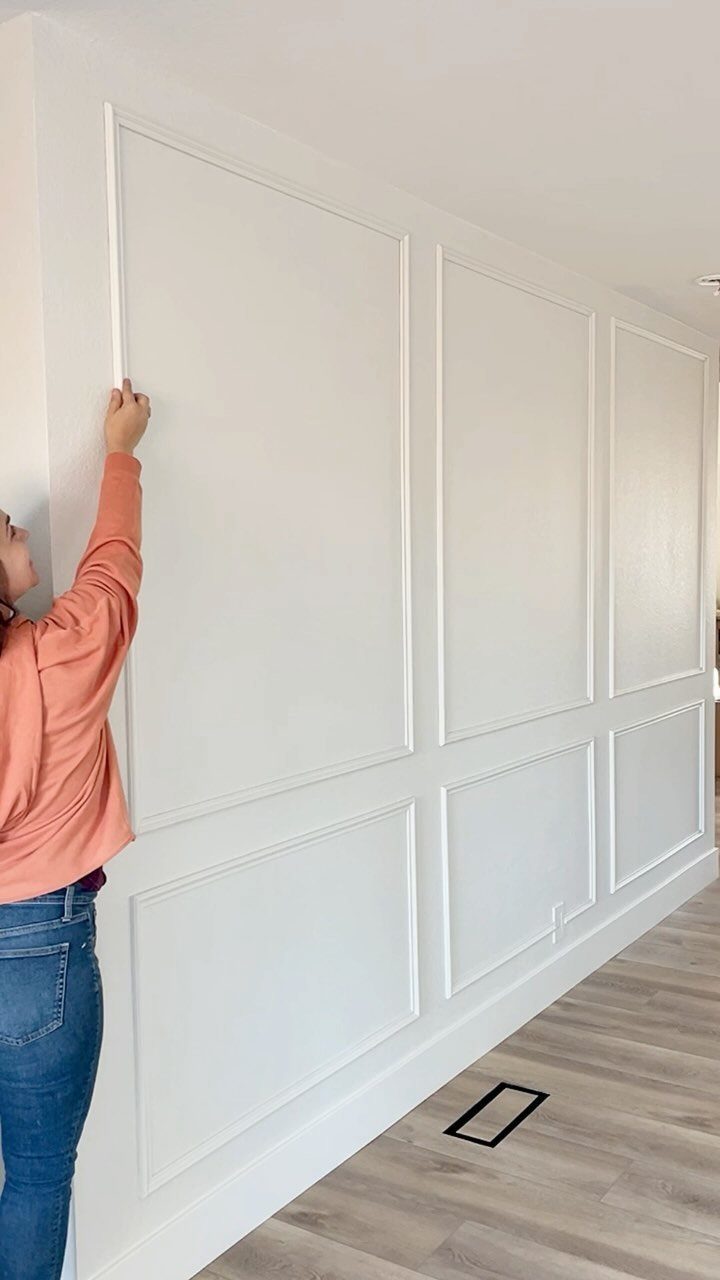
Panel mould is the thin, shaped strip that sits inside a frame to create the panel itself. The outer frame carries the layout, but the inner mould gives the assembly its detail: a small ogee, a step, a bead.
Without it, you have flat boards; with it, the panel reads as finished.
A full assembly stacks several parts: base moulding at the floor, flat lumber for the rails and stiles, panel mould for the inside edge, and a cap or chair rail at the top.
You can mix these, adjust the spacing, change the projection. A low ceiling wants a lower cap; a long wall wants more frames, not wider ones.
I would buy extra panel mould. The inside cuts are fussy, and the pieces are short; mistakes add up.
Match the profile to your baseboard if you can, or at least keep the scale similar: delicate panel mould against a chunky base looks like two rooms arguing.
7. Picture Frame Molding
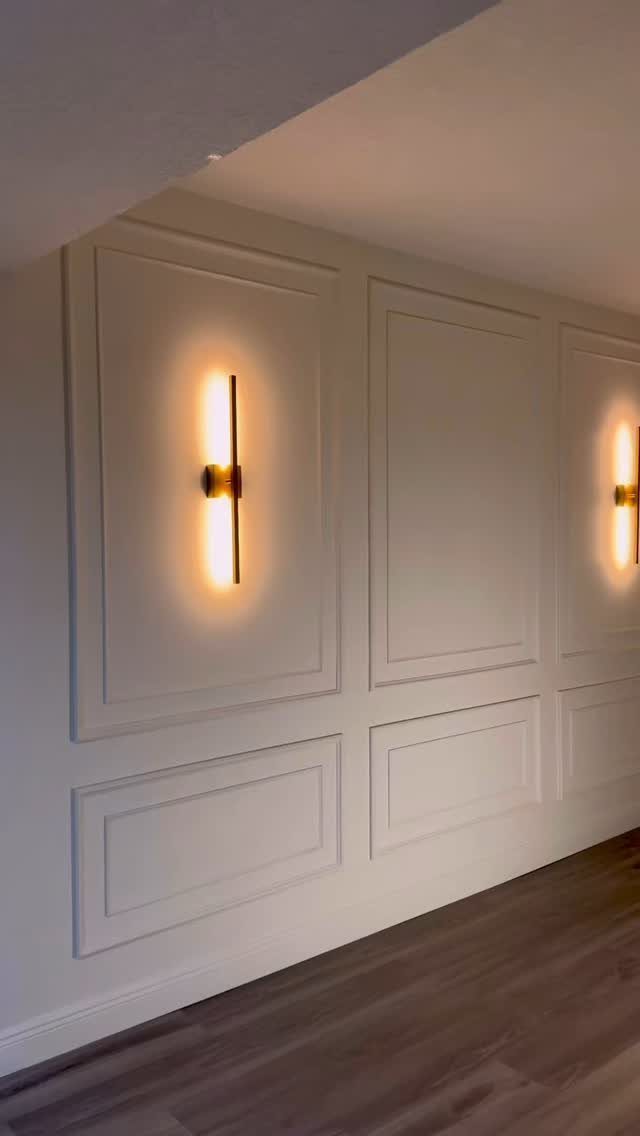
Picture frame molding builds rectangles directly on the wall surface, no actual panel inset, just trim creating the illusion of framed sections.
This suits renters or first-home owners who want impact without lumber yard orders. You need only chair rail or baseboard stock cut to length, plus mitered corners.
I would build the frames on the floor with wood glue and a brad nailer, then mount them as units rather than measuring each piece in place.
Paint the frames the wall color for quiet depth, or gloss white against matte for shadow. The sconce trick works best with low-profile LED bars that do not protrude past the frame edge.
8. Ornate Classical Relief Panels
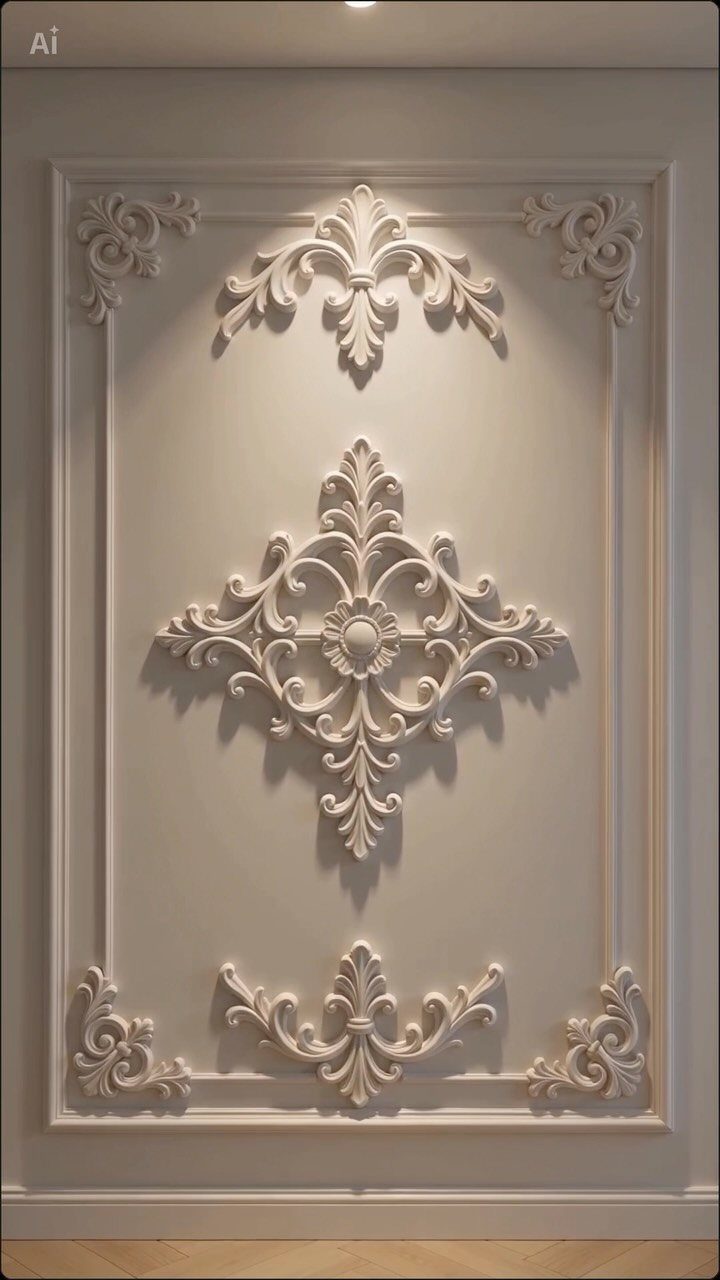
Ornate classical relief panels carry carved floral and scrollwork inside the frame, not flat molding alone. Plaster or resin appliqué reads the same as the hand-carved original and is how most of us would source this now.
I would not attempt carving. Suppliers sell pre-cast corner and center ornaments in urethane; you glue them in place and build simple molding around them.
The photo’s cream-on-cream treatment keeps the detail from reading as fussy.
This trades weekend simplicity for visual weight. A single panel as headboard substitute, or a narrow column flanking a doorway, gives the effect without the estate-commitment of a full wall.
These details compress a room with standard-height ceilings unless you keep the panel proportion low and wide.
9. Vertical Wood Slat Panels
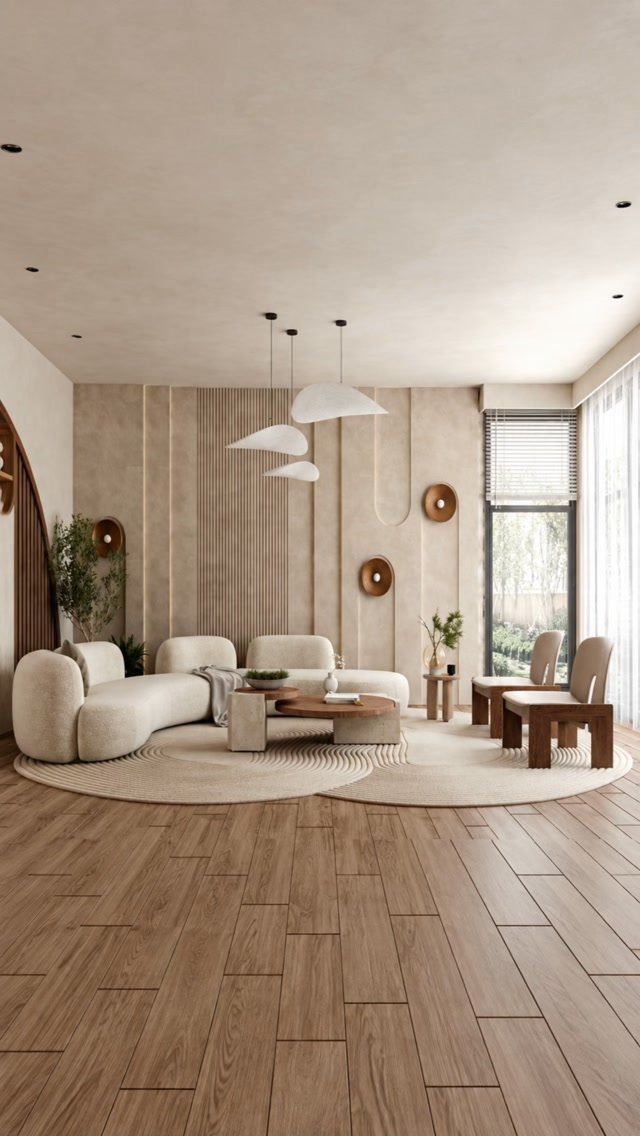
Vertical wood slat panels run thin strips from floor to ceiling with gaps between, more screen than solid wall. One accent plane in a larger room is the right dose; full coverage turns quickly into sauna.
Construction lumber ripped narrow, spaced half an inch apart, screws to horizontal furring strips. The visible edges must be clean, so rip from the better face of 1-by material or buy S4S hardwood if the budget allows.
I would stain before installation; the gaps make brushing finish in place maddening.
This reads modern where beadboard reads cottage. It also masks imperfect walls better than flat panels because the shadows hide the surface behind.
One wall only. Two walls and you live in a crate.
10. Metallic Trim Inset Panels
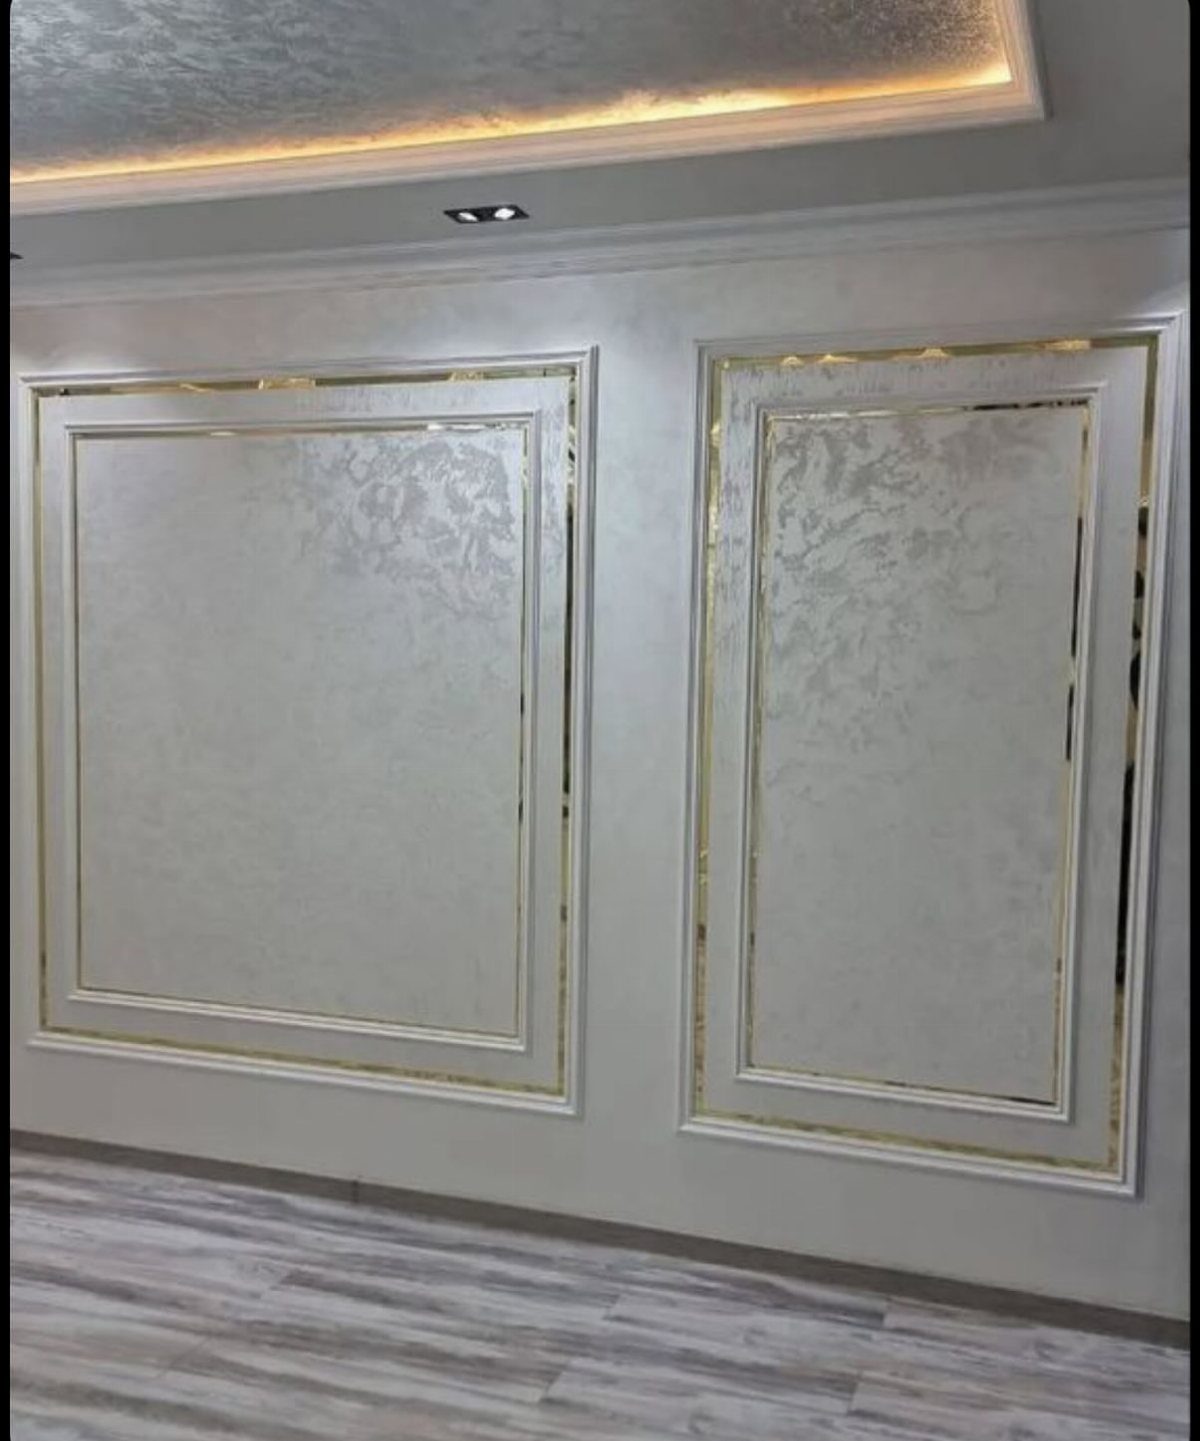
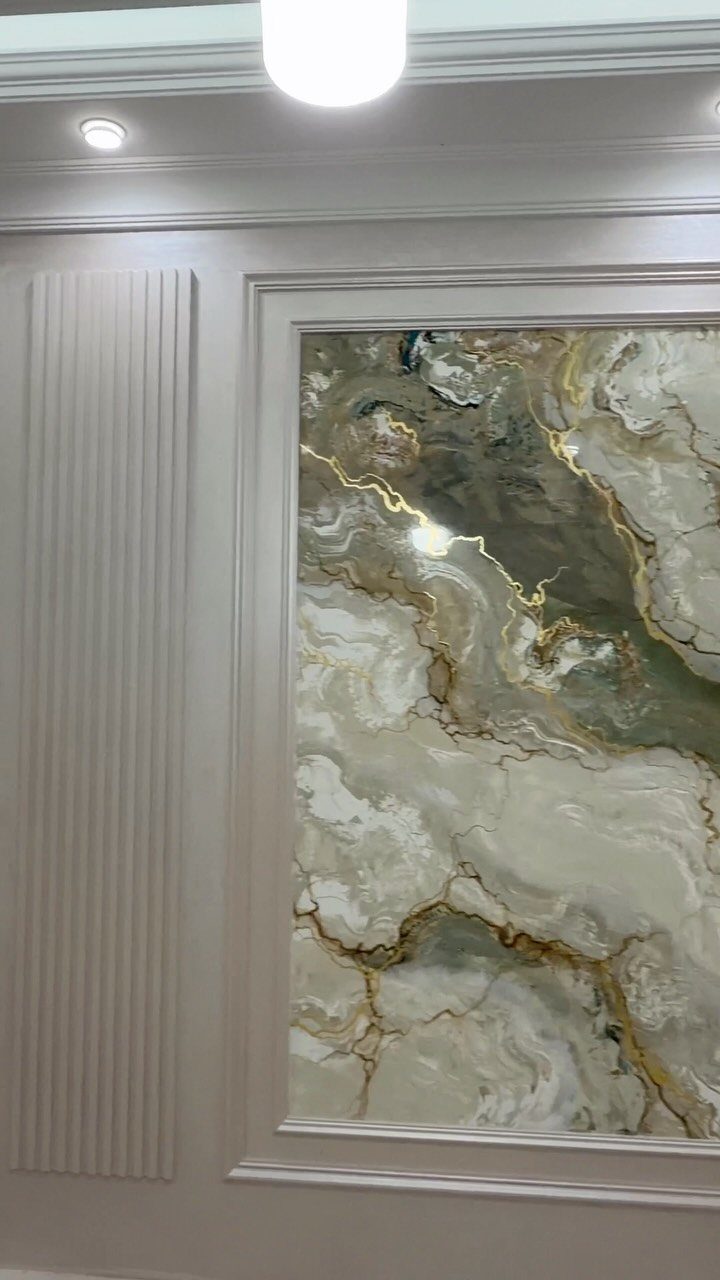
Metallic trim inset panels use metal as the frame itself, not paint. Gold-toned trim surrounding a textured insert reads as one applied unit rather than site-built molding.
I would source this as pre-finished wall panels rather than attempting metalwork. Aluminum or stainless trim channels exist for tile and millwork, but cutting and mitering them cleanly without a metal brake wastes time and blood.
Several suppliers now sell composite panels with bonded metal faces in standard sizes.
The warm metal needs a cool grey wall behind it; on cream or taupe it turns brassy fast. Check your bulbs too: 2700K warmth flatters gold trim, 4000K clinical light makes it read as yellow plastic.
This is showpiece treatment, not background texture. One wall, one room, done.
Frequently Asked Questions
What type of molding do you use for wall paneling?
Wall paneling uses layered mouldings stacked into an assembly: base moulding at the floor, flat lumber for the rails and stiles, panel mould for the inside edge, and a cap or chair rail at the top.
Panel mould is what turns a plain rectangle of boards into something that catches light and casts a shadow; it is the thin profile, the ogee or bead, that sits inside the frame.
Wainscoting is the same idea cut short, usually to 32-36 inches, so the chair rail takes the hit from chairs and shoes instead of your drywall.
Is paneling outdated in 2026?
Paneling keeps selling because it solves a real problem: drywall is flat and reads as an afterthought. Boards and moulding give a wall weight and purpose.
The idea is old because it worked: boards once blocked drafts, and now they hide uneven corners and ceiling cracks. What changes is the style you choose, from casual beadboard to formal raised panels.
What is the difference between wall paneling and wall moulding?
Wall paneling is the broader term for any treatment that covers or frames sections of a wall. Wall moulding is the specific trim, shaped strips like panel mould or chair rail, that creates the frames and detail inside them.
You can have paneling without elaborate moulding, but the moulding is what makes the assembly read as finished.
What is paneling trim called?
The piece that runs inside the frame, the one that creates the shadow line, is panel mould. It comes in a handful of profiles, and the one you pick sets the whole mood.
The outer frame uses rails and stiles, flat lumber that carries the layout.