Wall molding design runs from a half-height board and batten installed with a nail gun and a free Saturday to ornate plaster molding with gold trim that needs a specialist’s budget and a restoration timeline.
The deciding factor is how much of your weekend you are willing to trade for how much visual weight on the wall, and whether you are working in a small space or trying to add character to a new build.
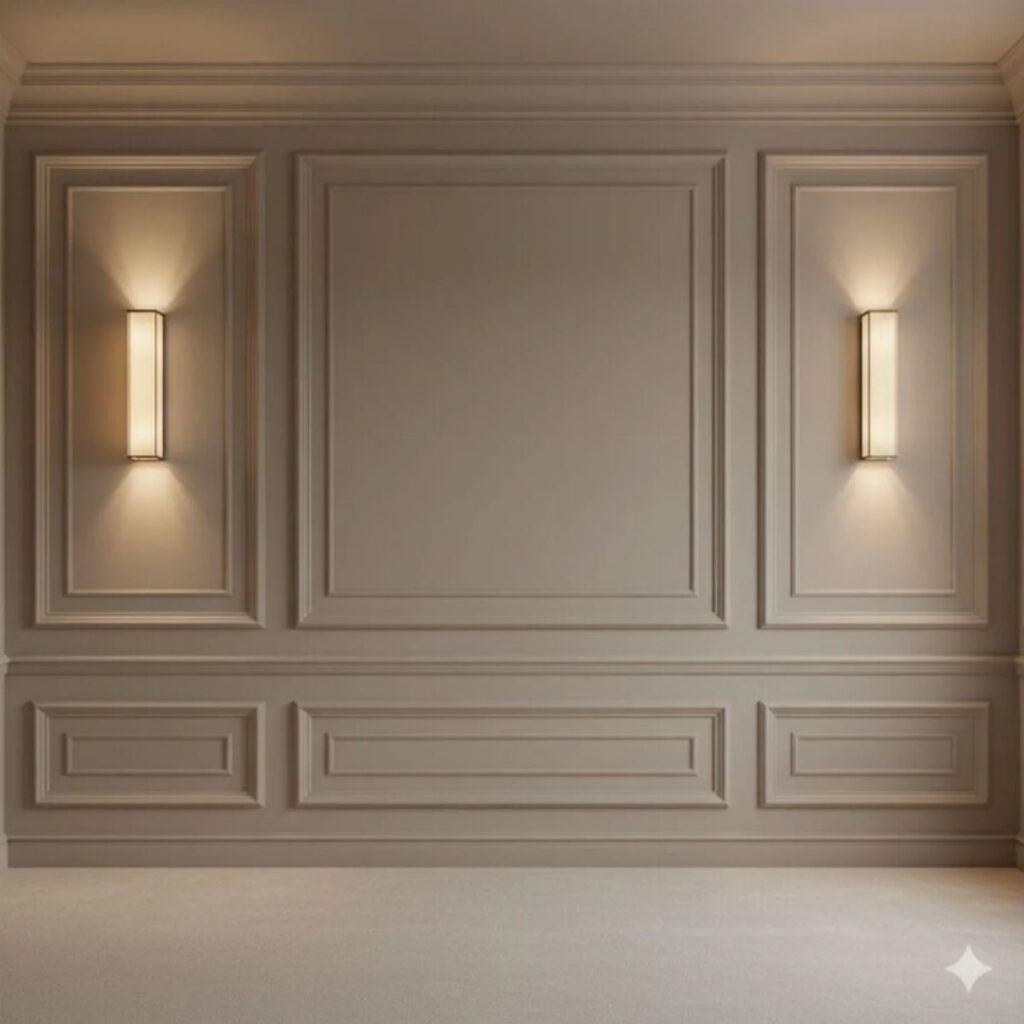
Picture frame moulding, four pieces of trim forming a box, sits in the middle of the difficulty range; it is still simple enough for a first attempt with a miter saw.
[link-whisper-related-posts]1. Board and Batten
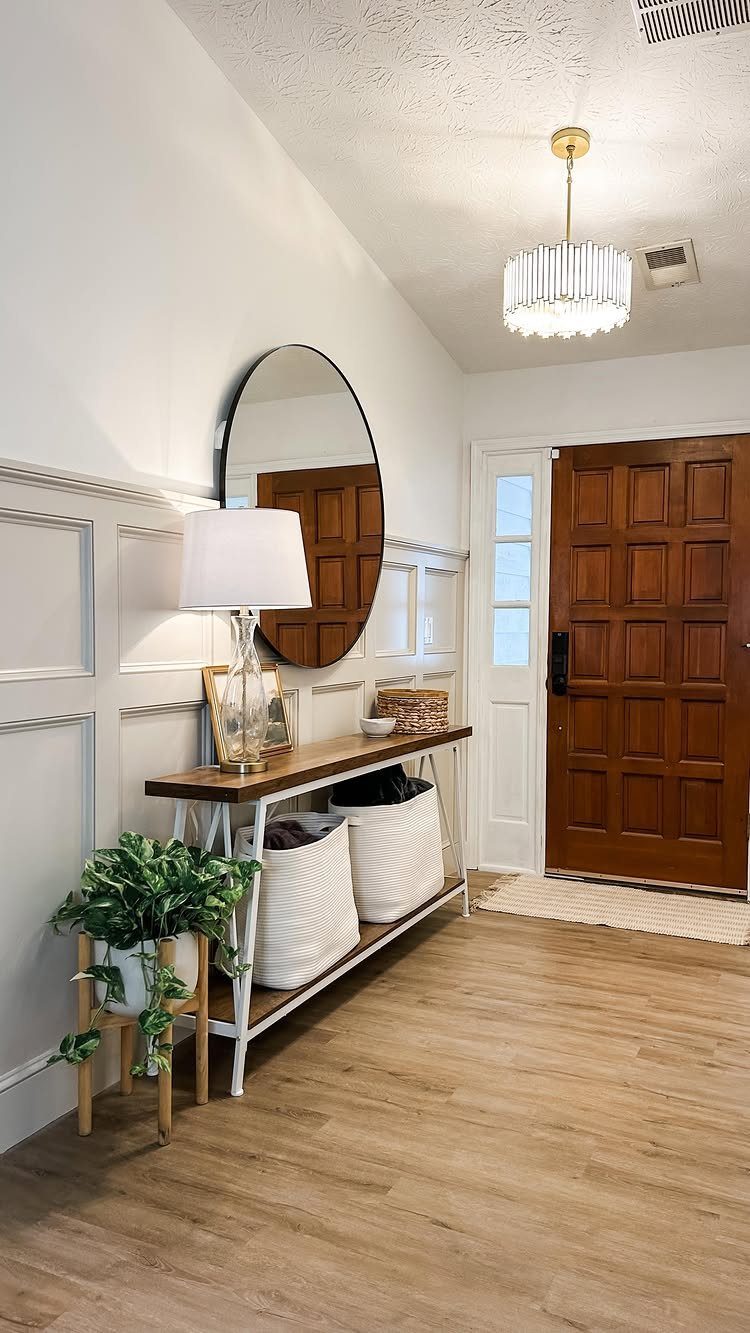
Board and batten runs vertical strips over wider panels, a layering trick borrowed from barn siding that now lives on dining room and nursery walls alike.
The look reads more relaxed than fussy formal styles, which suits weekend projects and real budgets.
Running it halfway up the wall keeps costs down and still adds weight to a space; taking it to the ceiling costs more in material but solves the problem of a room that feels too plain to bother with art.
Entryways and mudrooms are where I have seen it work best, and a full project writeup with every measurement and cut documented can carry someone through their first install start to finish.
2. Picture Frame Moulding
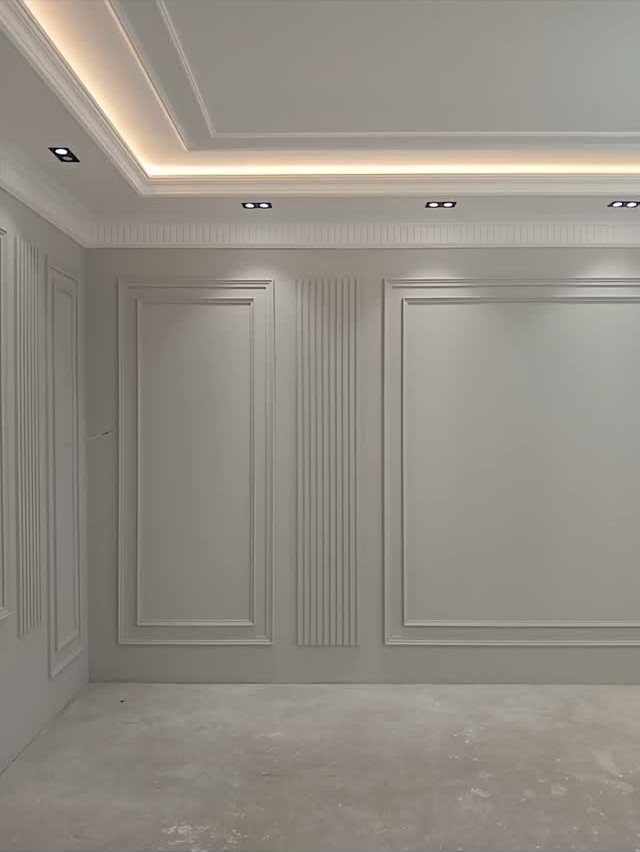
Four pieces of trim form a box on the wall, nothing more, and that simplicity is what makes picture frame moulding survive a first attempt.
The framed effect breaks up empty wall space without demanding furniture or large art to finish the look.
Painting trim, moulding, and walls in one satin color blurs the edges and stretches a small room visually; designers use this trick in long hallways where the eye needs somewhere to rest.
For a bolder move, boxing in sections of a wallpaper mural turns one wall into a focal point without the wallpaper fighting the architecture.
3. Shiplap
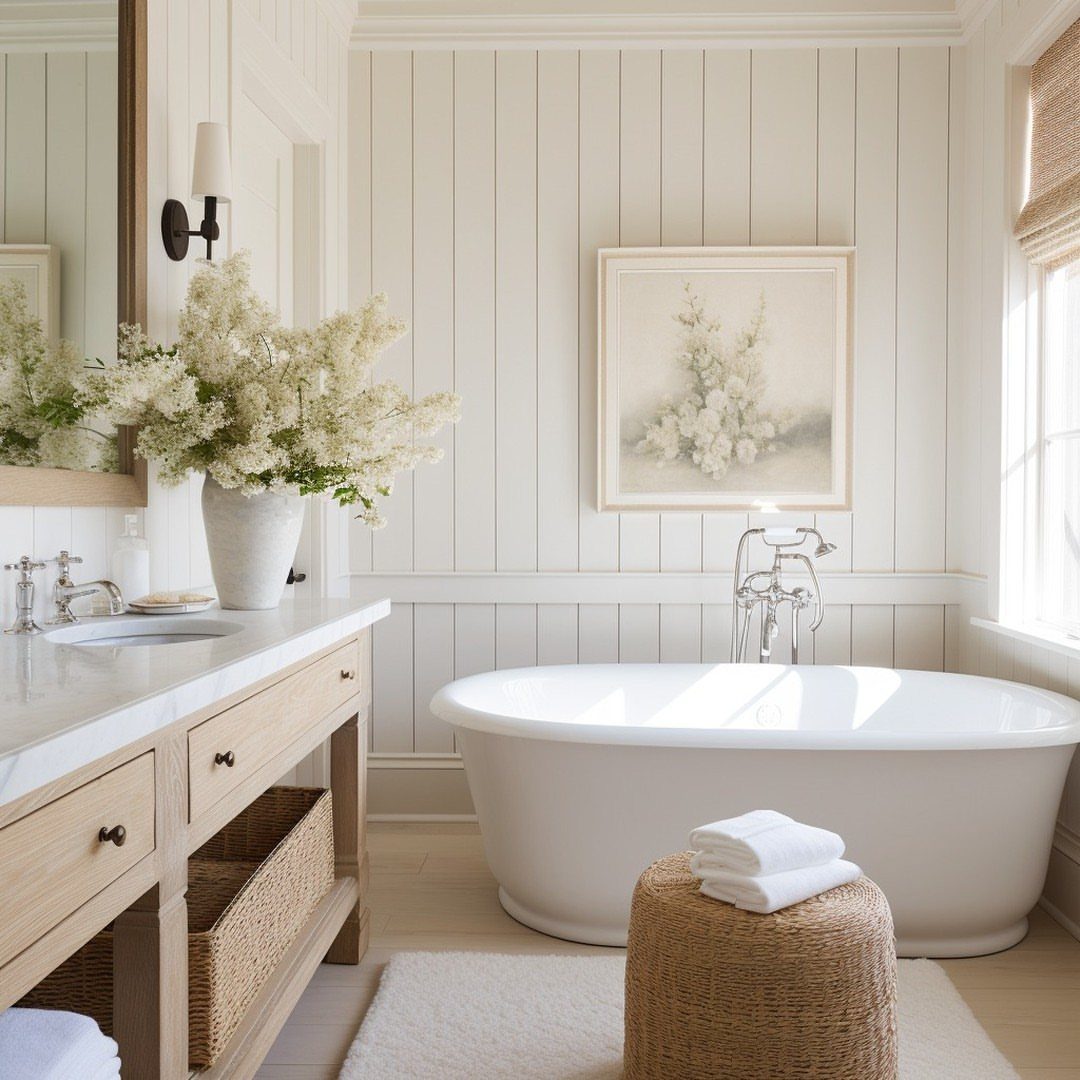
Shiplap started as exterior siding and ship decking, which explains the slight overlap that casts a thin shadow line between boards. That shadow line is what makes it work indoors; it adds texture even when painted flat white.
Tongue-and-groove planks from the hardware store speed installation past the old method of cutting rabbets yourself.
White keeps it coastal or farmhouse, but I have seen the same boards in deep charcoal or forest green read as modern without changing anything else about the room.
A vertical run draws the eye up and suits spaces with standard-height ceilings that want to feel taller.
4. Grid Moulding
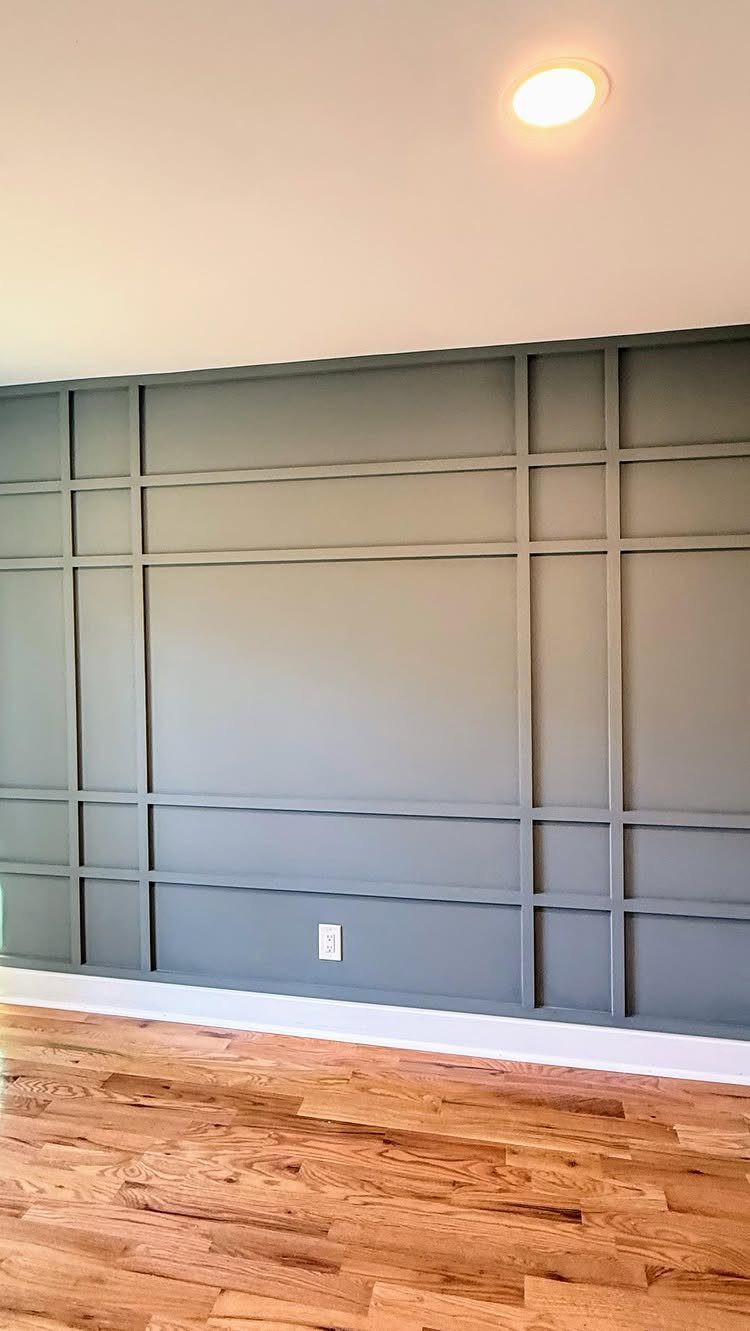
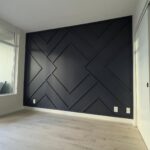
Grid moulding needs no mitered cuts, which makes it the entry I would hand to someone who owns a saw but has not yet trusted it with angles.
Rectangles of trim intersect on a blank wall and create their own pattern without a single frame to hang.
Behind a bed or sofa, the grid replaces art; on a stairwell wall, it gives the eye something to follow on the way up.
An asymmetrical grid breaks the expected rhythm, though a regular grid is faster to lay out and more forgiving if your first few lines wander.
Either way, measure twice and mark the wall before the nail gun comes out; filling misplaced holes in painted drywall is the kind of detail work that eats a Sunday.
5. DIY Picture Frame Moulding Design
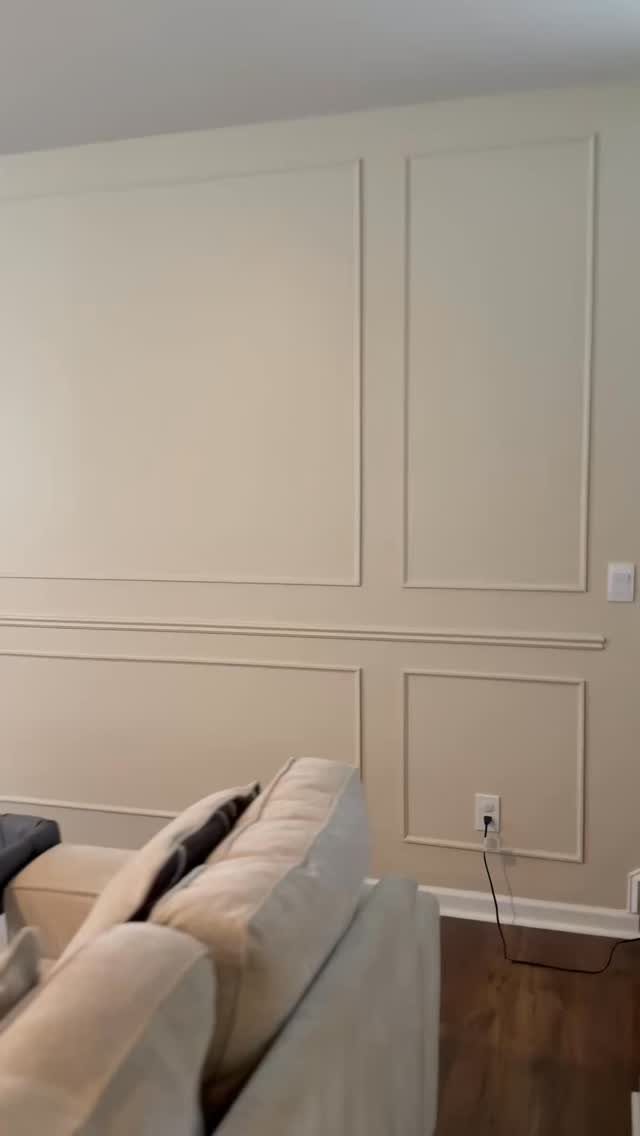
Picture frame moulding above and below a chair rail doubles the pattern density without doubling the difficulty, since each box uses the same four-piece construction. The chair rail itself becomes the horizontal line that organizes the whole wall.
A restrained palette, cream on cream, lets the shadow lines do the work instead of color contrast.
For a first project, start with one wall; the repetition is satisfying once you find the rhythm, but boxing and measuring can turn tedious fast once the novelty wears off.
6. Ornate Plaster Molding with Gold Trim
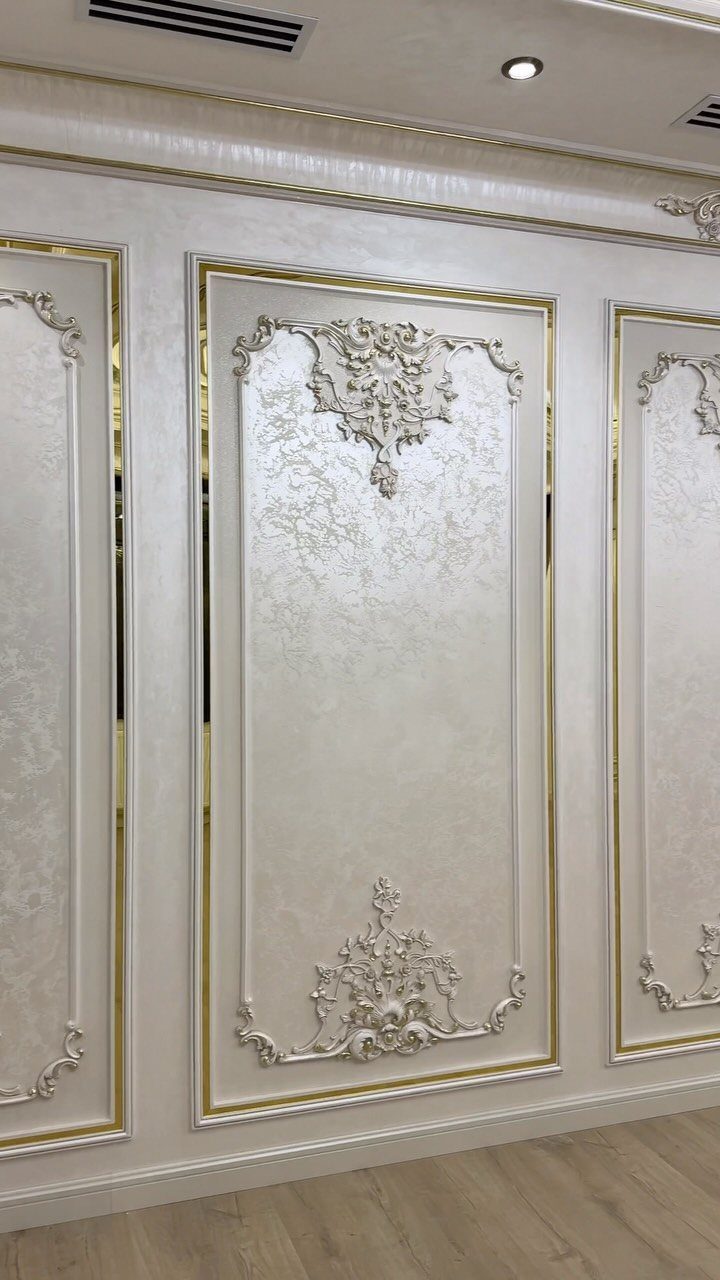
Ornate plaster molding with gold trim belongs to a different commitment level than painted wood strips or peel-and-stick alternatives.
The sculpted relief and delicate gold borders require either original architectural detail worth preserving or a specialist install that runs past most weekend budgets.
If your house came with this kind of work, the gold accents are the part you can add or refresh yourself with leafing paint and a steady hand.
If it did not, the look is hard to fake convincingly; the depth of real plaster casting is what catches light, and flat appliqués read as exactly that.
I would steer this reader toward picture frame moulding instead unless they are restoring a period room and have the patience for traditional methods.
7. Marble Inset Wall Molding
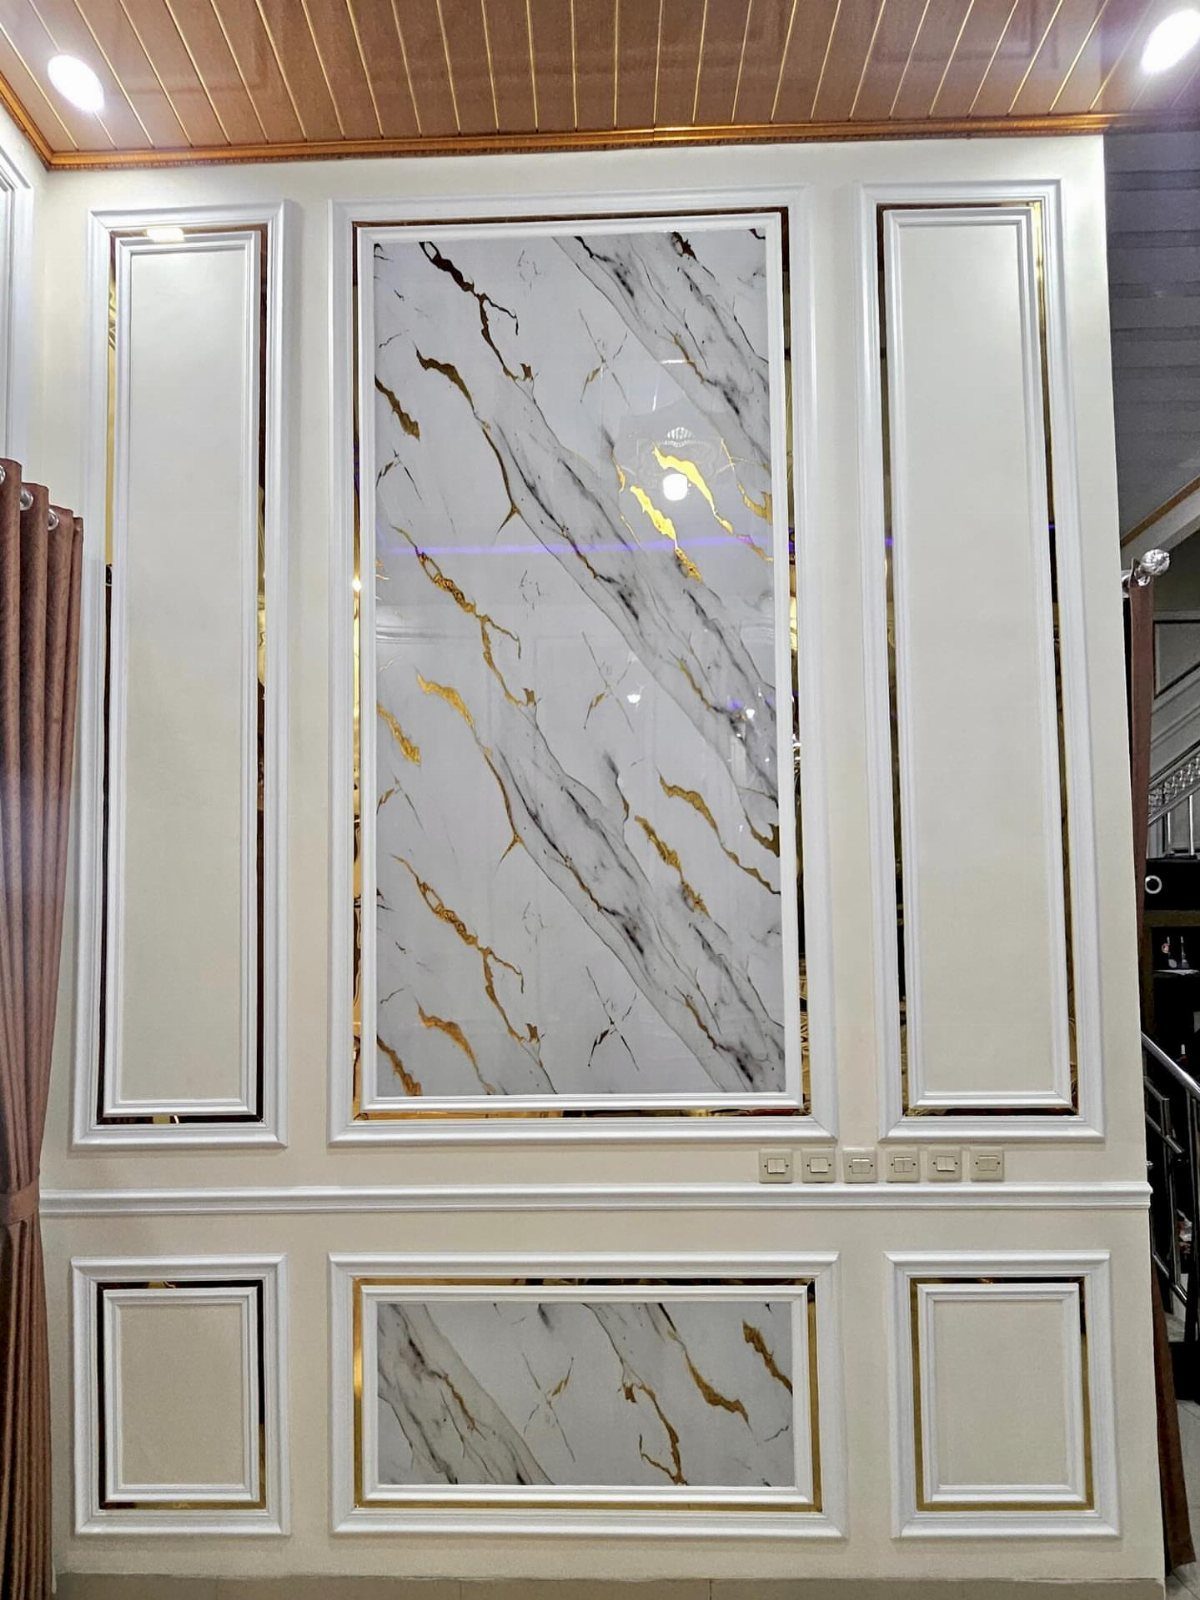
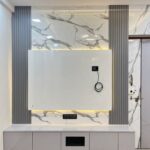
White molding frames a marble-look panel with gold veining and a metallic inner border, and that combination is what makes this idea work: the classic panel shape keeps it from reading as trendy, while the veining adds movement flat paint cannot match.
The marble panels here are almost certainly a high-quality vinyl or laminate, not real stone, which keeps the weight down and lets standard trim hold the edges.
Real marble slab would need structural backing and professional installation; for a weekend project, look for thin panels scored to fit your frame openings.
The gold trim inside the molding is a thin strip of metallic tape or painted quarter-round, applied after the panel is set but before the outer frame is fully secured.
This suits a reader who wants one showpiece wall rather than a whole room’s worth of work. Cost is the catch: even faux marble runs higher than paint, and the metallic accents add up.
I’d skip the gold border if the budget tightens; the veining carries most of the effect.
8. Geometric Diagonal Strip Molding
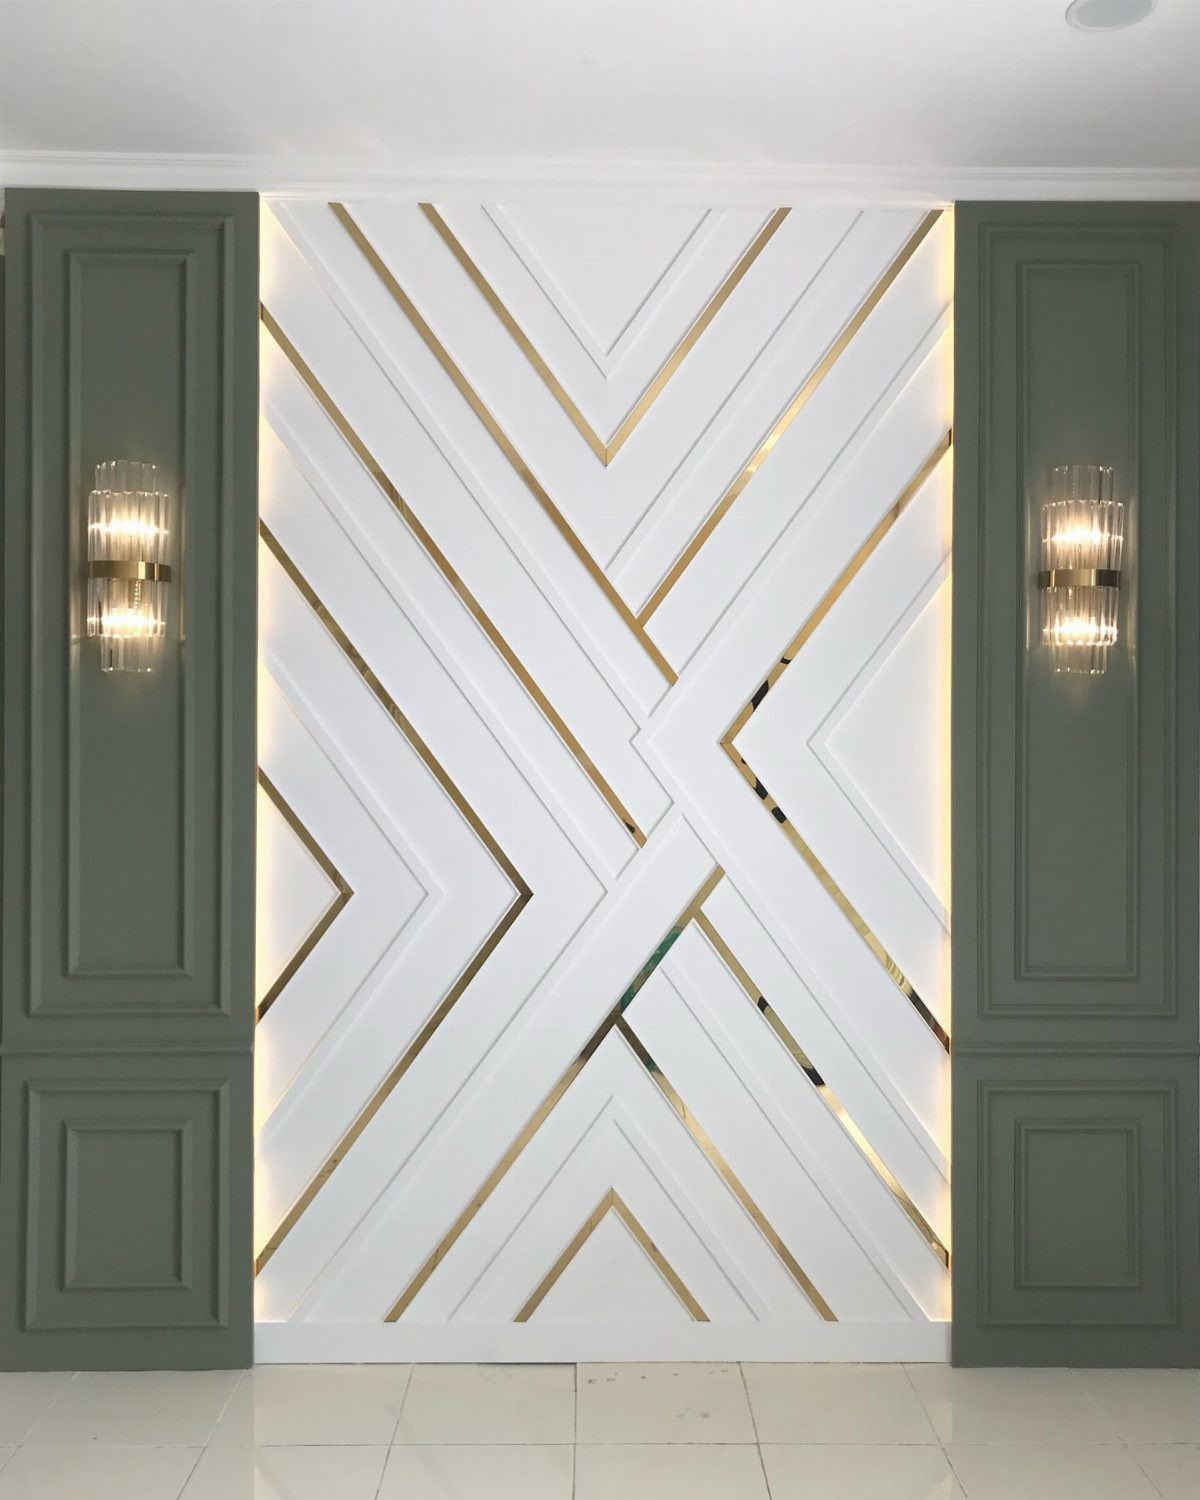
Diagonal strips of molding cross a white wall, with thin gold inlay catching light from recessed strips behind.
The geometry reads as modern because nothing repeats at a right angle; that same quality makes it harder to lay out than a grid.
Start by marking a center point and working outward, since small errors in angle compound fast.
The strips themselves are simple 1×2 or 1×3 material, but the gold inlay is the detail that sells it: metallic tape, or very thin brass strip, set into a shallow groove routed before installation.
The backlighting is LED ribbon tucked behind a lip on the rear edge of each strip; it washes the wall, not the strips themselves, which means the diagonals stand slightly proud.
This demands more patience than skill, but it does demand patience. A laser level helps enormously.
I’d point this toward a reader with a full weekend and a room where the wall already commands attention, like a dining area or entry; in a secondary space, the effort-to-impact ratio thins out.
The green paneled columns flanking the central feature suggest this was designed as a focal point between two doorways, and that context, two openings framing one wall, is where this idea lives most naturally.
Adding Character to New Builds
New construction drywall reads cold and flat because the builder skipped the detail work that older houses earned over decades.
Crown molding is the fastest fix; it runs along the top edge where wall meets ceiling and adds shadow lines that trick the eye into seeing architecture that was never there.
The material cost stays low enough that a single room becomes a reasonable Saturday test case.
Trim work in a builder-grade house creates the illusion of age without the plumbing problems that come with actual age. The moment the last piece is nailed and caulked, the room shifts from rented-apartment plain to something that feels considered.
Durability in High-traffic Areas
Entryways and mudrooms punish walls harder than living rooms ever do. Bags swing, boots kick, and shoulders brush the surface every time someone squeezes past to hang a coat.
Wainscoting and shiplap started as exterior solutions for exactly this kind of abuse; the boards take the hit so the drywall behind them stays clean.
Shiplap works vertically in bathrooms and tight hallways, a detail borrowed from farmhouse renovations that brightens where natural light barely reaches.
The overlap between boards hides expansion gaps and catches grime on the surface rather than letting it settle into corners.
Wainscoting does the same job lower on the wall, guarding the zone where scuffs actually happen while leaving the upper wall open for paint that won’t need touching up every season.
Using Moulding in Small Spaces
Hallways, stairways, and powder rooms are the spaces where furniture fails you.
A hallway too narrow for a console table, a staircase wall that tilts away from anything hung on it, a bathroom where moisture eats frames: these are exactly where molding earns its keep.
A narrow hallway doesn’t leave space for furniture, so wainscoting carries the visual weight instead, giving the eye something to follow the full length of the wall. Picture molding climbing a staircase dresses the vertical rise without fighting gravity.
Crown molding in a powder room finishes the box where four bare planes would otherwise close in.
Frequently Asked Questions
Which molding is best for a wall?
That depends on the room and your comfort with tools. Picture frame molding uses the same four-piece box repeated, which makes it forgiving for a first attempt.
How to layout wall moulding?
Measure twice and mark the wall before the nail gun comes out; filling misplaced holes in painted drywall is the kind of detail work that eats a Sunday.
For a grid, start with a center line and work outward so small errors do not compound.